I am so excited to finally be sharing my Ultimate Guide to Havasupai with you. This post has truly been a labor of love from conception over a year ago when I decided that I needed to see these beautiful falls to hitting publish and sharing this experience with all of you. Havasupai is truly a once in a lifetime experience. You can expect this guide to be updated regularly with new information and links about the permit process, and if you have any questions please let me know in the comments. I went into this adventure with millions of questions and loved having resources like this to reference.
Getting Your Permit
Everyone talks about how getting your permit to Havasupai is one of the hardest permits to secure and they aren’t wrong. If you get a permit, it will largely be based on luck and a whole lot of patience.
Creating an account:
Permits go on sale February 1st and will sell out that day. In order to get a permit you must create an account here. Once you’ve created your account, you will be able to grab a permit when they go on sale.
Pricing:
Havasupai permit pricing changes each year, the most recent pricing is as follows:
ALL campground reservations are 3 Nights/4 Days.
$100 per person per weekday night.
$125 per person per weekend night.
These prices include all necessary permits, fees, and taxes.
3 Night/4 Day stay will be between $300 and $375 per person.
When I went, there were two people in my group and we each paid $375 for our permits.
Picking Your Dates:
The reality is you won’t have a say in when you go. You need to be extremely flexible with your dates because they sell out of permits so quickly. If possible, I recommend staying away from the middle of summer as temperatures during this time are extremely high. I went to Havasupai from September 28th to October 1st and it was perfect. Temperatures didn’t get over 76 degrees and at night it was warm enough to sleep with your sleeping bag unzipped.
Day of permit sale:
On the day of the permit sale I recommend having everyone in your group who plans to go log on right when the reservation list opens. Then you will be hitting refresh for hours. It took over 3-hours for me to secure a permit. Going with a smaller group (2-4 people) will make it easier to secure a permit. The site crashed for me over 20 times a few times right during the checkout process. Be patient and just keep hitting refresh.
Please note: The site is going to crash. Have a cup of coffee, prepare yourself, and hit refresh. Please don’t be that person complaining on social media for 3 hours while you wait.
You Didn’t Get A Permit. Now What?
It’s not the end of the world! You have two options. The first is to go on another amazing trip this year and try again for Havasupai permits next year. The other option is to keep an eye on the transfer and cancellations page. There are a lot of permits that go up here and if you are traveling solo or with just one other person, I think it is extremely likely that you could get a permit for this year.
Yay, You Got A Permit! Now What?
Woohoo! First of all, take a quick breather because the permit process was stressful AF. Now that you have had some time to relax you should join the Havasupai Facebook Group. This is a great place to find out what worked for other people, meet up with hikers on your way in, and ask any questions. Please be warned that this group has a lot of people and often times you will get a wide variety of responses. One of the reasons I wrote this guide is to help you push through all the noise on the internet.
The next step is to book your accommodation as soon as possible for the night before your hike in. You will be hiking into the village very early in the morning and should try to stay as close as you can to the trailhead. Here is where I recommend staying (only one hour drive from the trailhead). Here is where I stayed the night before (two hours from the trailhead).
Packing List
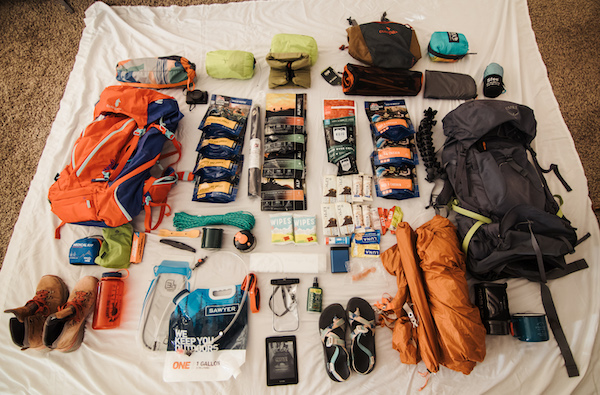 Depending on the time of year you are going, your packing list will change slightly so I’ve added an asterisk by items that are seasonal. This list is designed for the 3 day/4 night stay you get with your permit.
- Coffee
- Energy supplements
- Jet boil
- Propane
- Water filter
- Knife
- First aid kit
- Aleve/Advil/Ibuprofen
- Blister guard
- Moleskine
- Rope
- Towel
- Carabiner
- Trekking poles
- Cash
- Hammock Straps
- Journal
- Toilet paper
Day 1: Hike In
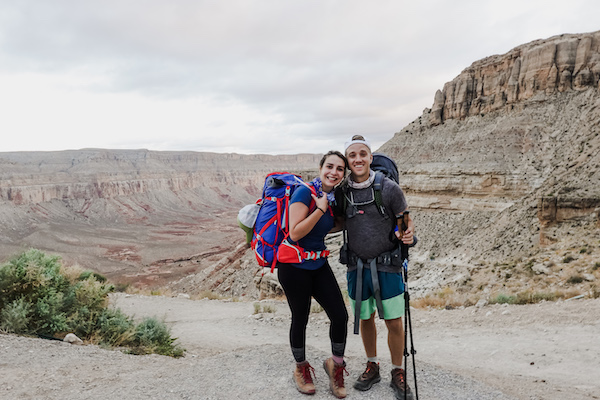
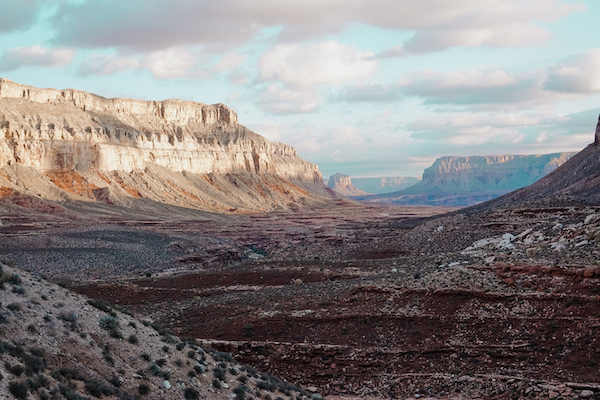
The hike in is a total of ten miles, eight miles to the village and then another two-four depending on where your campsite is. Start your hike in as early as possible. I began at 6 AM on the dot and reached the village a little before 10 AM. You will want to get in early to stay out of the sun with your packs on and to get a good campsite.
The hike down to the Havasupai Village begins with a two-mile descent into the Grand Canyon and then is primarily flat the rest of the time. For this hike you should definitely wear hiking boots. Chacos or trail runners will not offer enough support. The ground ranges from packed dirt, to gravel, to slick rock, to really fine sand. Because of this variety, I really appreciated the extra support my hiking boots offered.
You will have two check points on the way where you will have to show your permit. Keep your permit in your hip pocket for easy access. Friendly reminder: there will be pack mules doing this hike and you must step to the side and let them pass (no photos or videos are allowed of these animals). People hiking out will have the right of way and they have probably hiked 30-50 miles so move to the side and let them pass.
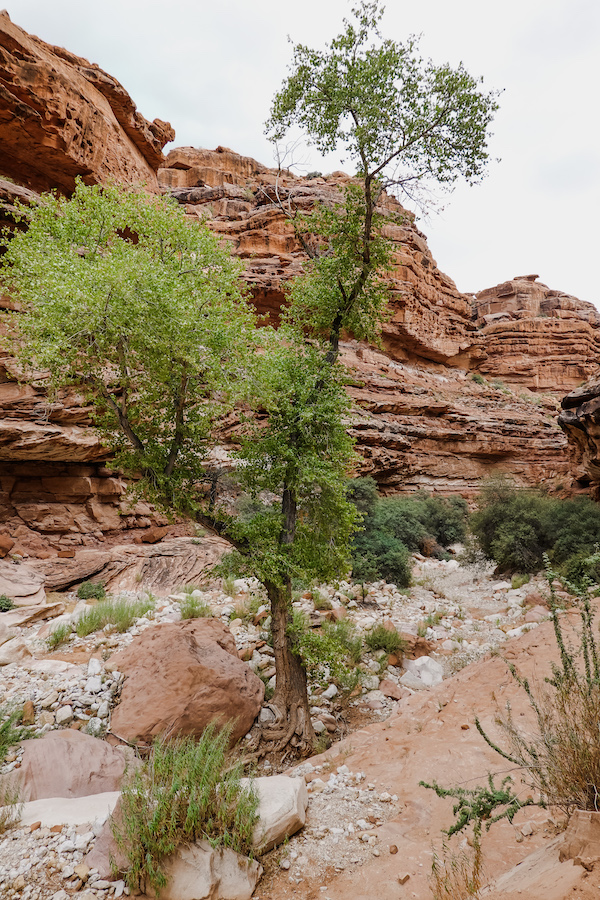
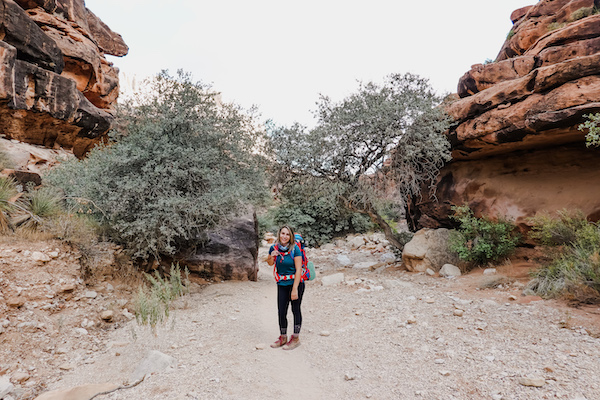
When you reach the Havasupai village, you will check in (just follow the signs) where they will check your permit and give you wristbands and a tag for your tent. You must keep these on the entire time you are at the campsite. They will then give you directions to the campsite and if you have any questions feel free to ask. I stopped at the convenience store for a cheese stick and frozen Gatorade before heading to the campsite.
Please note: you may not take any photos or videos in the village.
After you have checked in and taken a little break, you will hike the rest of the way to the campsite. First you will pass Fifty Foot Falls and Navajo Falls and you may think that you are close to the campsite and question if you are going the right way. Just keep going! The last fall you will see is Havasu and it is STUNNING. Continue down past Havasu Falls and you will see the entrance to the campsite and the ranger station. I grabbed a screw top bucket at the ranger station and then continued on to find a campsite.
For this four to five hour hike, I drank almost three liters of water and had snacks throughout. My snacks consisted of an Epic Beef Bar and two Luna Bars. I also wore leggings and a tank top for the hike. Keep in mind that the mornings are chilly and you may be hiking in the dark, so a light layer and headlamp may be required.
Day 2: Beaver Falls and Hike to the Confluence
On day two we decided to hike to the Confluence. The Confluence is where the Havasu Creek meets the waters of the muddy Colorado River. The reasons this is so breathtaking is because of the dividing line created by the currents of the two different waters. I am going to be writing a separate post that I will link back to explaining the hike but for a brief overview, this is a 16 mile round trip hike that must be started at sunrise or earlier depending on how long it takes you to hike and how much time you want to spend at the Confluence. Anyone can do this hike, but I highly recommend being very in shape because of the length and how much hiking you still have left to do.
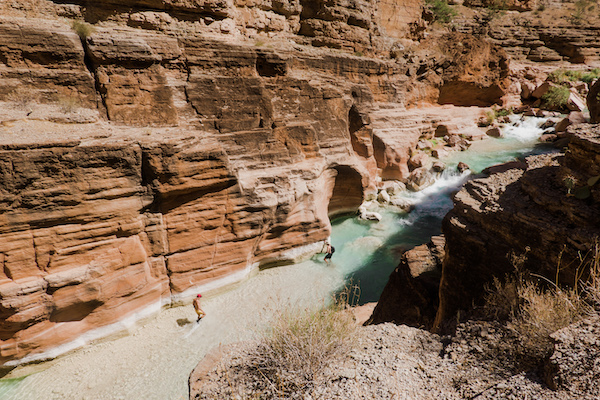
Stay tuned for a full blog post on the Confluence.
Day 3: Havasu, Mooney, and recover
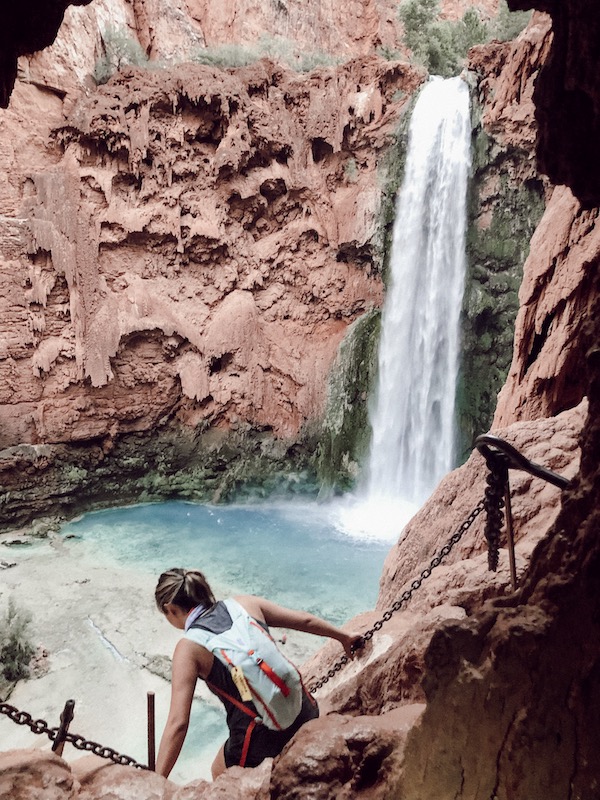
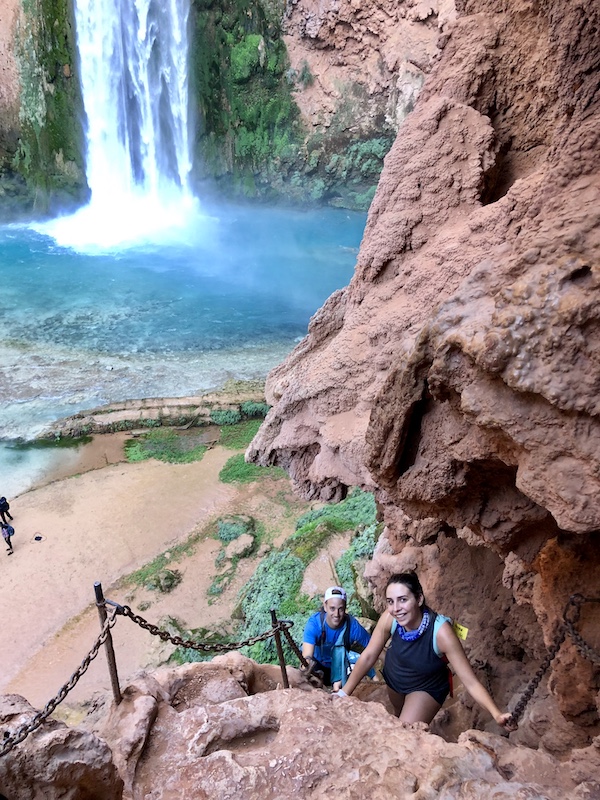
I woke up on day three feeling probably the most sore I have been in my entire life. After hiking a little under 30 miles the first two days, I was in dire need of some rest before the hike out. On day three, spend some time at Mooney Falls, which is one of the most talked about falls near the campground. Mooney Falls is over 200 ft. tall and has a steep descent that involves climbing down a couple of ladders and through two tiny tunnels. The climb down is not difficult but go down during the day time so you have plenty of light to see all of the foot holds. Wear gloves because the chain ropes that help you get down are a little slippery, and lastly go slow. There is no rush to get down. Mooney Falls truly makes you feel small. It is taller than the Statue of Liberty (for anyone who needs perspective). Spend some time down here taking photos and sitting on the tables placed in the water. There is also a rope swing at Mooney Falls for anyone who is into that!
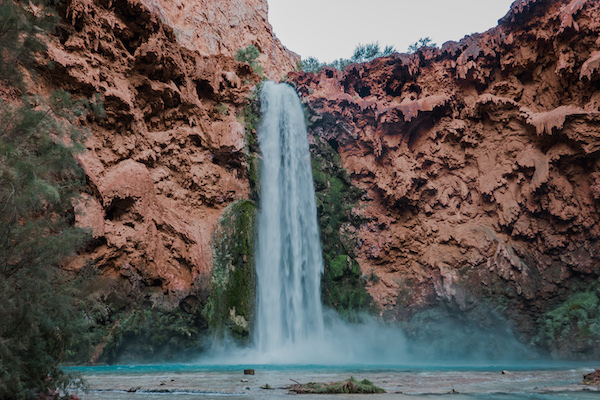
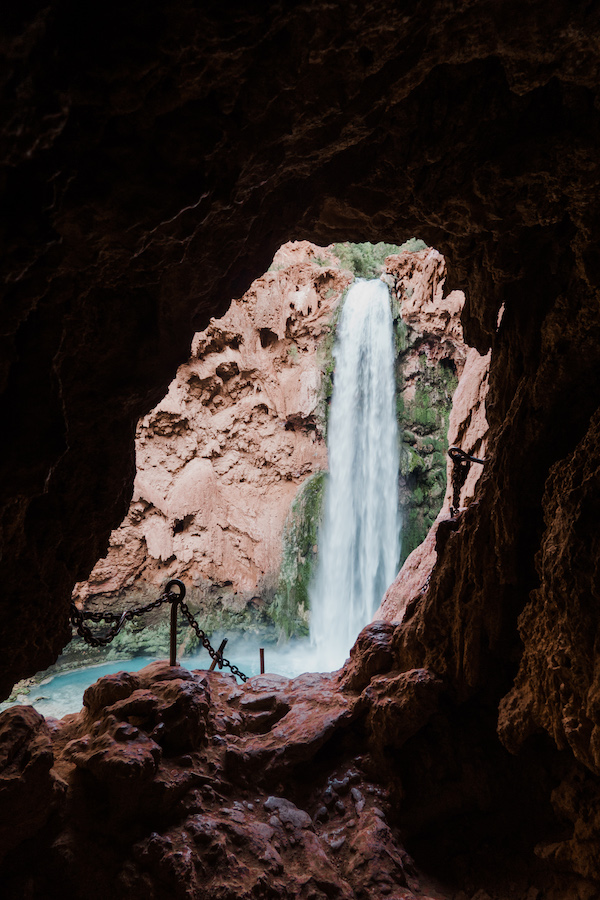
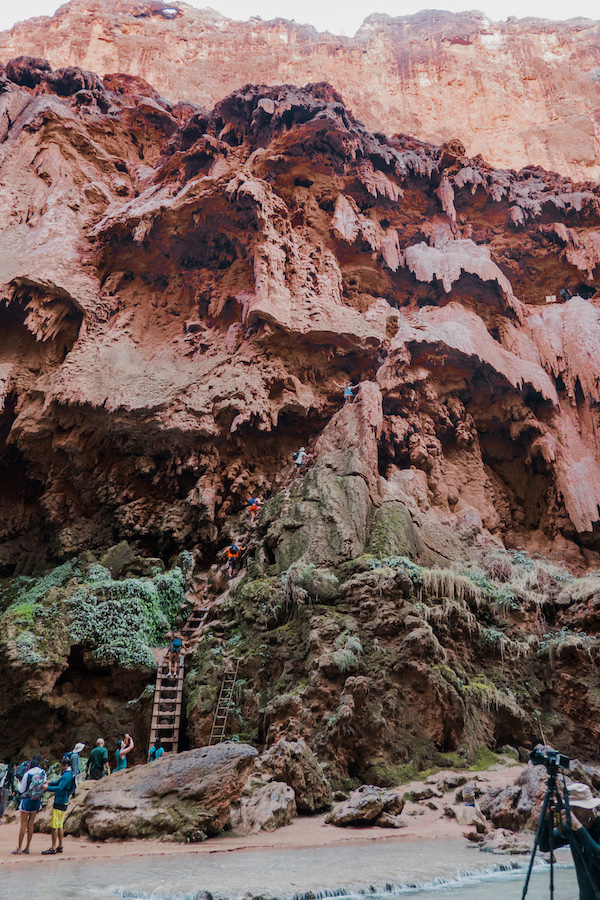
Getting to Mooney Falls from the campsite is very simple. Go to the end of the campsite and then follow signs that will take you to the cliff that you climb down. Mooney is right there at the bottom.
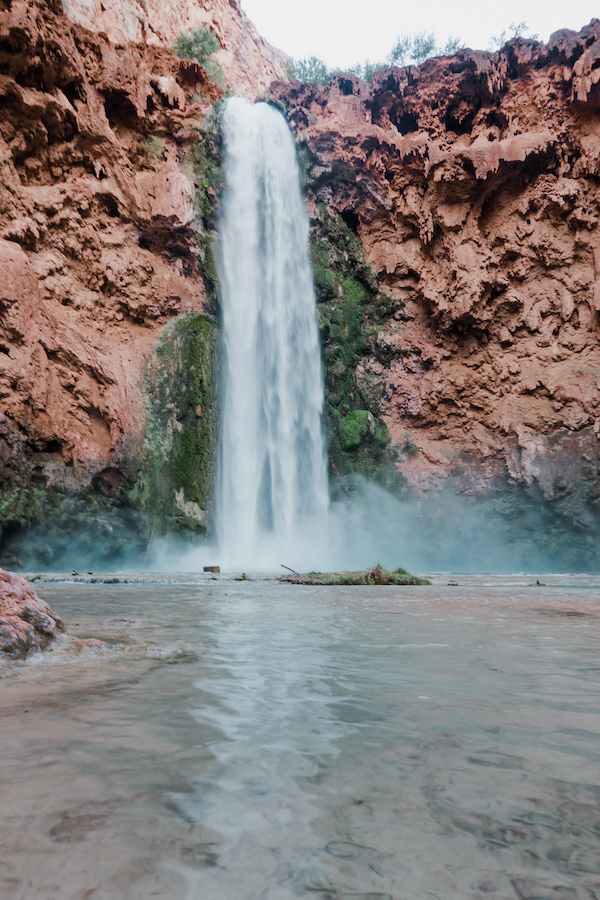
My favorite fall from this entire weekend is still Havasu Falls. The falls get a good amount of sun around noon (depending on the time of year you go) and you can hang out in the pools or swim towards the fall. I wish I had more time to set up a hammock here and relax in the sun.
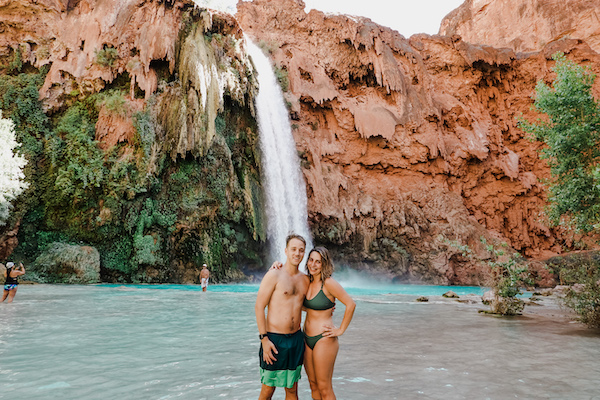

You will pass Havasu Falls on the way in to the campsite and depending on where you camp, it is one-three miles to hike back to it. The hike to Havasu Falls from the campground is uphill but takes less than 30 minutes.
Day 4: Hike Out
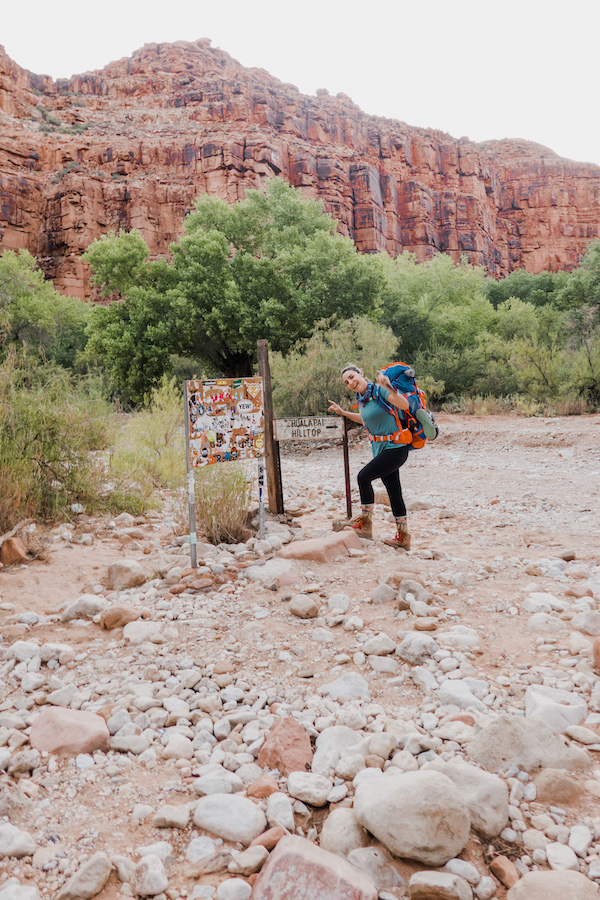
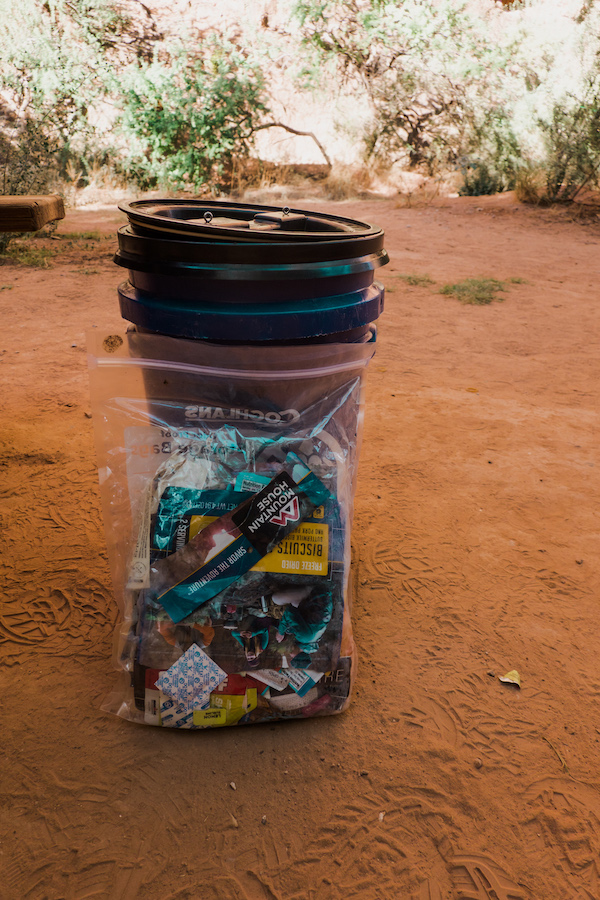
The last day came so quickly! I couldn’t believe it was already time to pack up the tent and head out. For the hike out, I recommend leaving as early as possible so that you get back to the car before it gets too hot. The last two miles are all uphill and doing that in direct sunlight will make it extremely uncomfortable. We left around 4:30 in the morning and before leaving we had to take down the tent, pack everything, and eat a quick breakfast. Be sure to pack out everything you pack in, below you can see the trash we accumulated after this trip.
If you wake up between 3:45 and 4:00 AM, you will have plenty of time to do this. Since it is so early don’t forget to leave out your headlamp. You will be hiking a few miles in the dark.
You will take the same trail out as you did in, but it is going to feel much longer after three full days of hiking and camping. The first couple of miles are uphill in the dark and if I am being honest, they are pretty brutal. This is when I started using trekking poles. If you are questioning whether to bring trekking poles or not, I cannot recommend them enough. They are under $50 and well worth the cost and extra weight. Personally, I only used one on the hike out and my boyfriend used the other but on the hike in he used both the entire time and couldn’t stop raving about them. After you get to the village (about two-three miles depending on where you camp), it is mostly flat until the last two miles. On the hike I stopped, took off my pack and had snacks and water a few times. These quick breaks make all the difference. Many have talked about the last two miles of the hike out and expressed how grueling it is and I felt the same way. Here is how I made it through the last two miles: caffeine supplement, frequent quick breaks, and having a snack ready to go once I got to the car. This is another part of the hike where the trekking poles are extremely helpful.
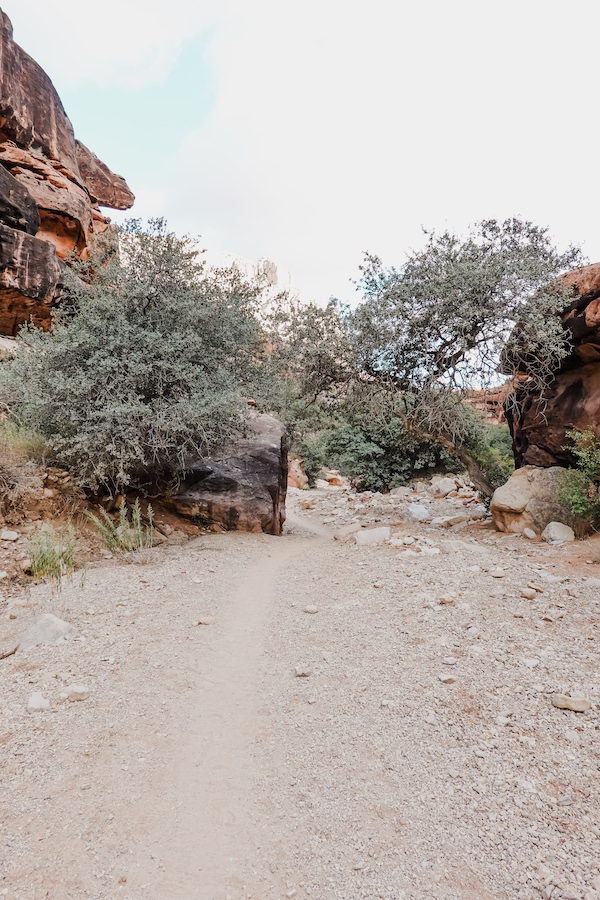
After you have completed the last two miles, there are bathrooms at the top and then you jump in the car for your drive out.
For this four to six hour hike out, I drank four liters of water and had snacks throughout. My snacks consisted of an Epic Beef Bar and three Luna Bars. I also wore leggings and a tank top for the hike, plus a light layer in the morning.
Things to Know About the Village
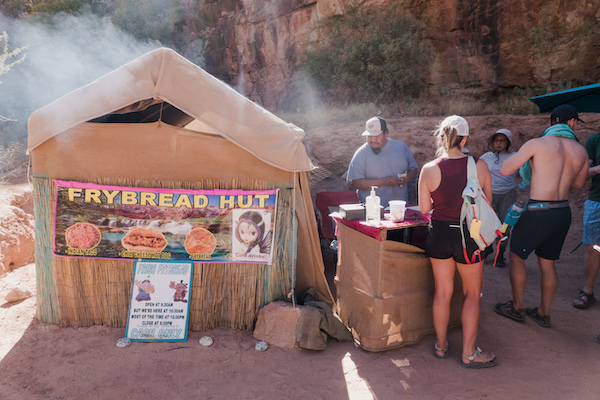
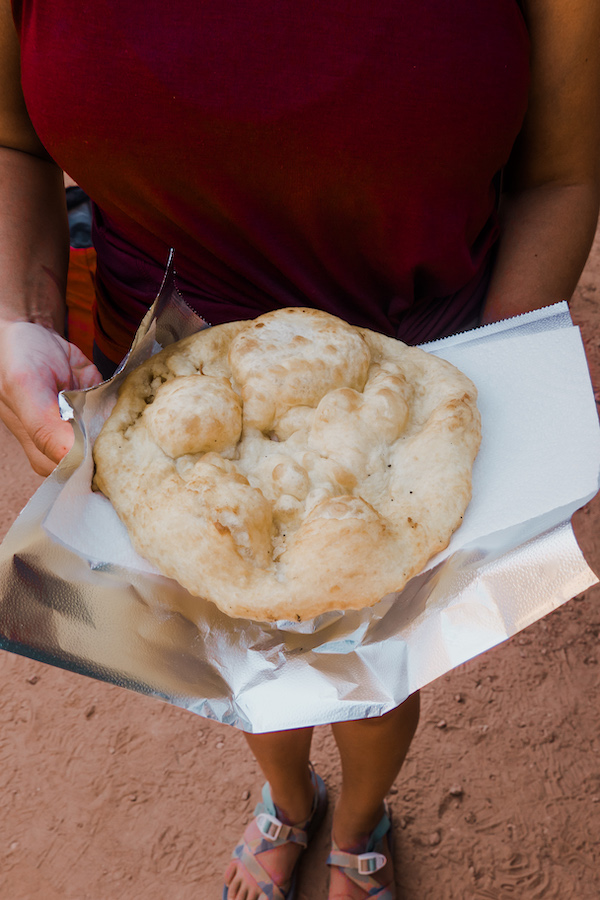
I wish I could show you more from the Havasupai Village but you are not allowed to take any photos or videos. The village has two stores where you can purchase some snacks and drinks and a cafe where you could potentially get lunch. However, I would not rely on either of these because they are open infrequently and have no “set” hours that they stick to. There are signs with estimates and you can usually rely on the convenience store being open most of the day but bring enough food for the entire trip. Pricing for food is more than reasonable. A Gatorade is only $5 and all other snack food is maybe $1 more than you would pay at any other convenience store. The cafe was closed during my trip so I have nothing to report here but the menu did show burgers. Luckily, I had a chance to try the fry bread and it was great. They do run out of fry bread every day so get there close to noon to ensure you get some. The fry bread stand is close to Havasu Falls (not in the village).
On your hike in you will see the first convenience store and this is the smaller of the two. They have ice cream, Gatorade, chips, cheese, canned chilli, Top Ramen, etc. The second convenience store is right in front of the helipad and has a slightly wider selection. All of these places are cash only. I would say bringing $50 is on the extra safe side.
Lastly, the village has a post office! If you are like me, you love sending letters to friends and family from different spots you visit. This is one of the last mule carrier postal services so I made it a priority to send a few letters.
Picking a Campsite
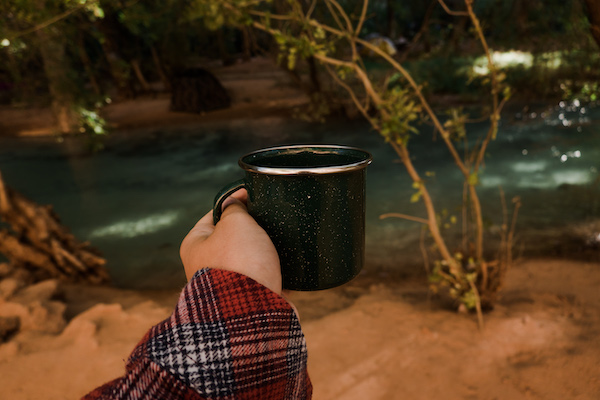
I am so excited to talk about this because it was something that not a lot of people mentioned before hiking in. When you get to the entrance of the campground, there will be a ranger station and the first of three bathrooms. The last set of bathrooms marks the last area to camp before hitting Mooney Falls (where you will be asked to move if you camp there). We decided to camp close to the third bathroom by a little stream, because it was so beautiful and had the perfect spot for a hammock.
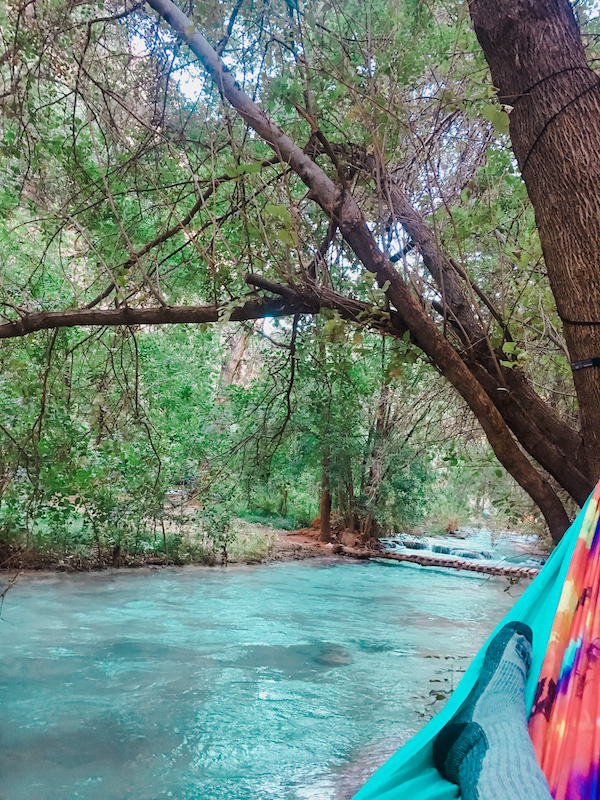
We heard some different reasons to camp closer to the entrance. The bathrooms are slightly better maintained by the entrance. There are fewer people camping there and it makes the hike out that much shorter. However, these spots are not quite as beautiful and you likely won’t be near the water. I absolutely loved the spot we picked and would opt to hike a little extra to get it again. Places not to camp include by the cliffside because rocks fall and that is where tarantulas like to hang out and past the third bathroom. I saw several people set up camp past the third bathroom and at nightfall someone came and made them move the entire campsite.
Other Things to Know
Above I shared everything that I did and can give you my full experience on, but the following items are other options for hiking in and lodging. If you want to hike in but do not want to carry your stuff, you can hire pack mules. It is $400 roundtrip for a pack mule which can carry four bags. You can read more about how to reserve those here. There is also a helicopter that you can take in and out for $95 each way. The helicopter runs on a first come, first serve basis and tribe members get on first. Many people line up before sunrise and don’t get on till 6:00 PM. Before planning on taking the helicopter, check the times that it runs. The day I was hiking out it was not running.
If seeing the beautiful falls are on your bucket list but camping is not, you can try to get a reservation at the lodge. The lodge books out quickly for a year in advance and is only available to book via telephone.
Backpacking to Havasupai has truly changed my life. This magical place is unlike anything else I have had the opportunity to see. The water is turquoise blue, the canyons stretch high above you, and the starts remind you just how beautiful night time is. If you are lucky enough to take on this adventure I would love to hear about your experience and if you have any questions before beginning your descent leave them in the comments below.
+ show Comments
- Hide Comments
add a comment